For several years I've wanted an industrial-scale pantograph engraving machine so as to be able to experiment with making typefounding matrices. A few weeks after receiving Richard Kegler's film Making Faces documenting the work of the late Jim Rimmer in the pantographic engraving and casting of matrices, I finally did something about it and acquired a Gorton P1-2 pantograph engraving machine. This machine is at least as capable as the Taylor-Hobson pantograph used by Rimmer in the engraving of his working patterns.
Of course, an engraving machine requires cutters, so see ../../../../../ Machine Shop -> Cutting Tool Forming and Sharpening Notebook, and more particularly, within that, Gorton Cutter Grinding Machines.
See also the Notebook on the Gorton 375 Cutter Grinder at CircuitousRoot.
For technical literature for this machine, see ../../../../ Typefounding, Lettering, & Printing -> Pantograph Engraving Machines, especially the Gorton Pantograph Engravers.
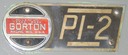
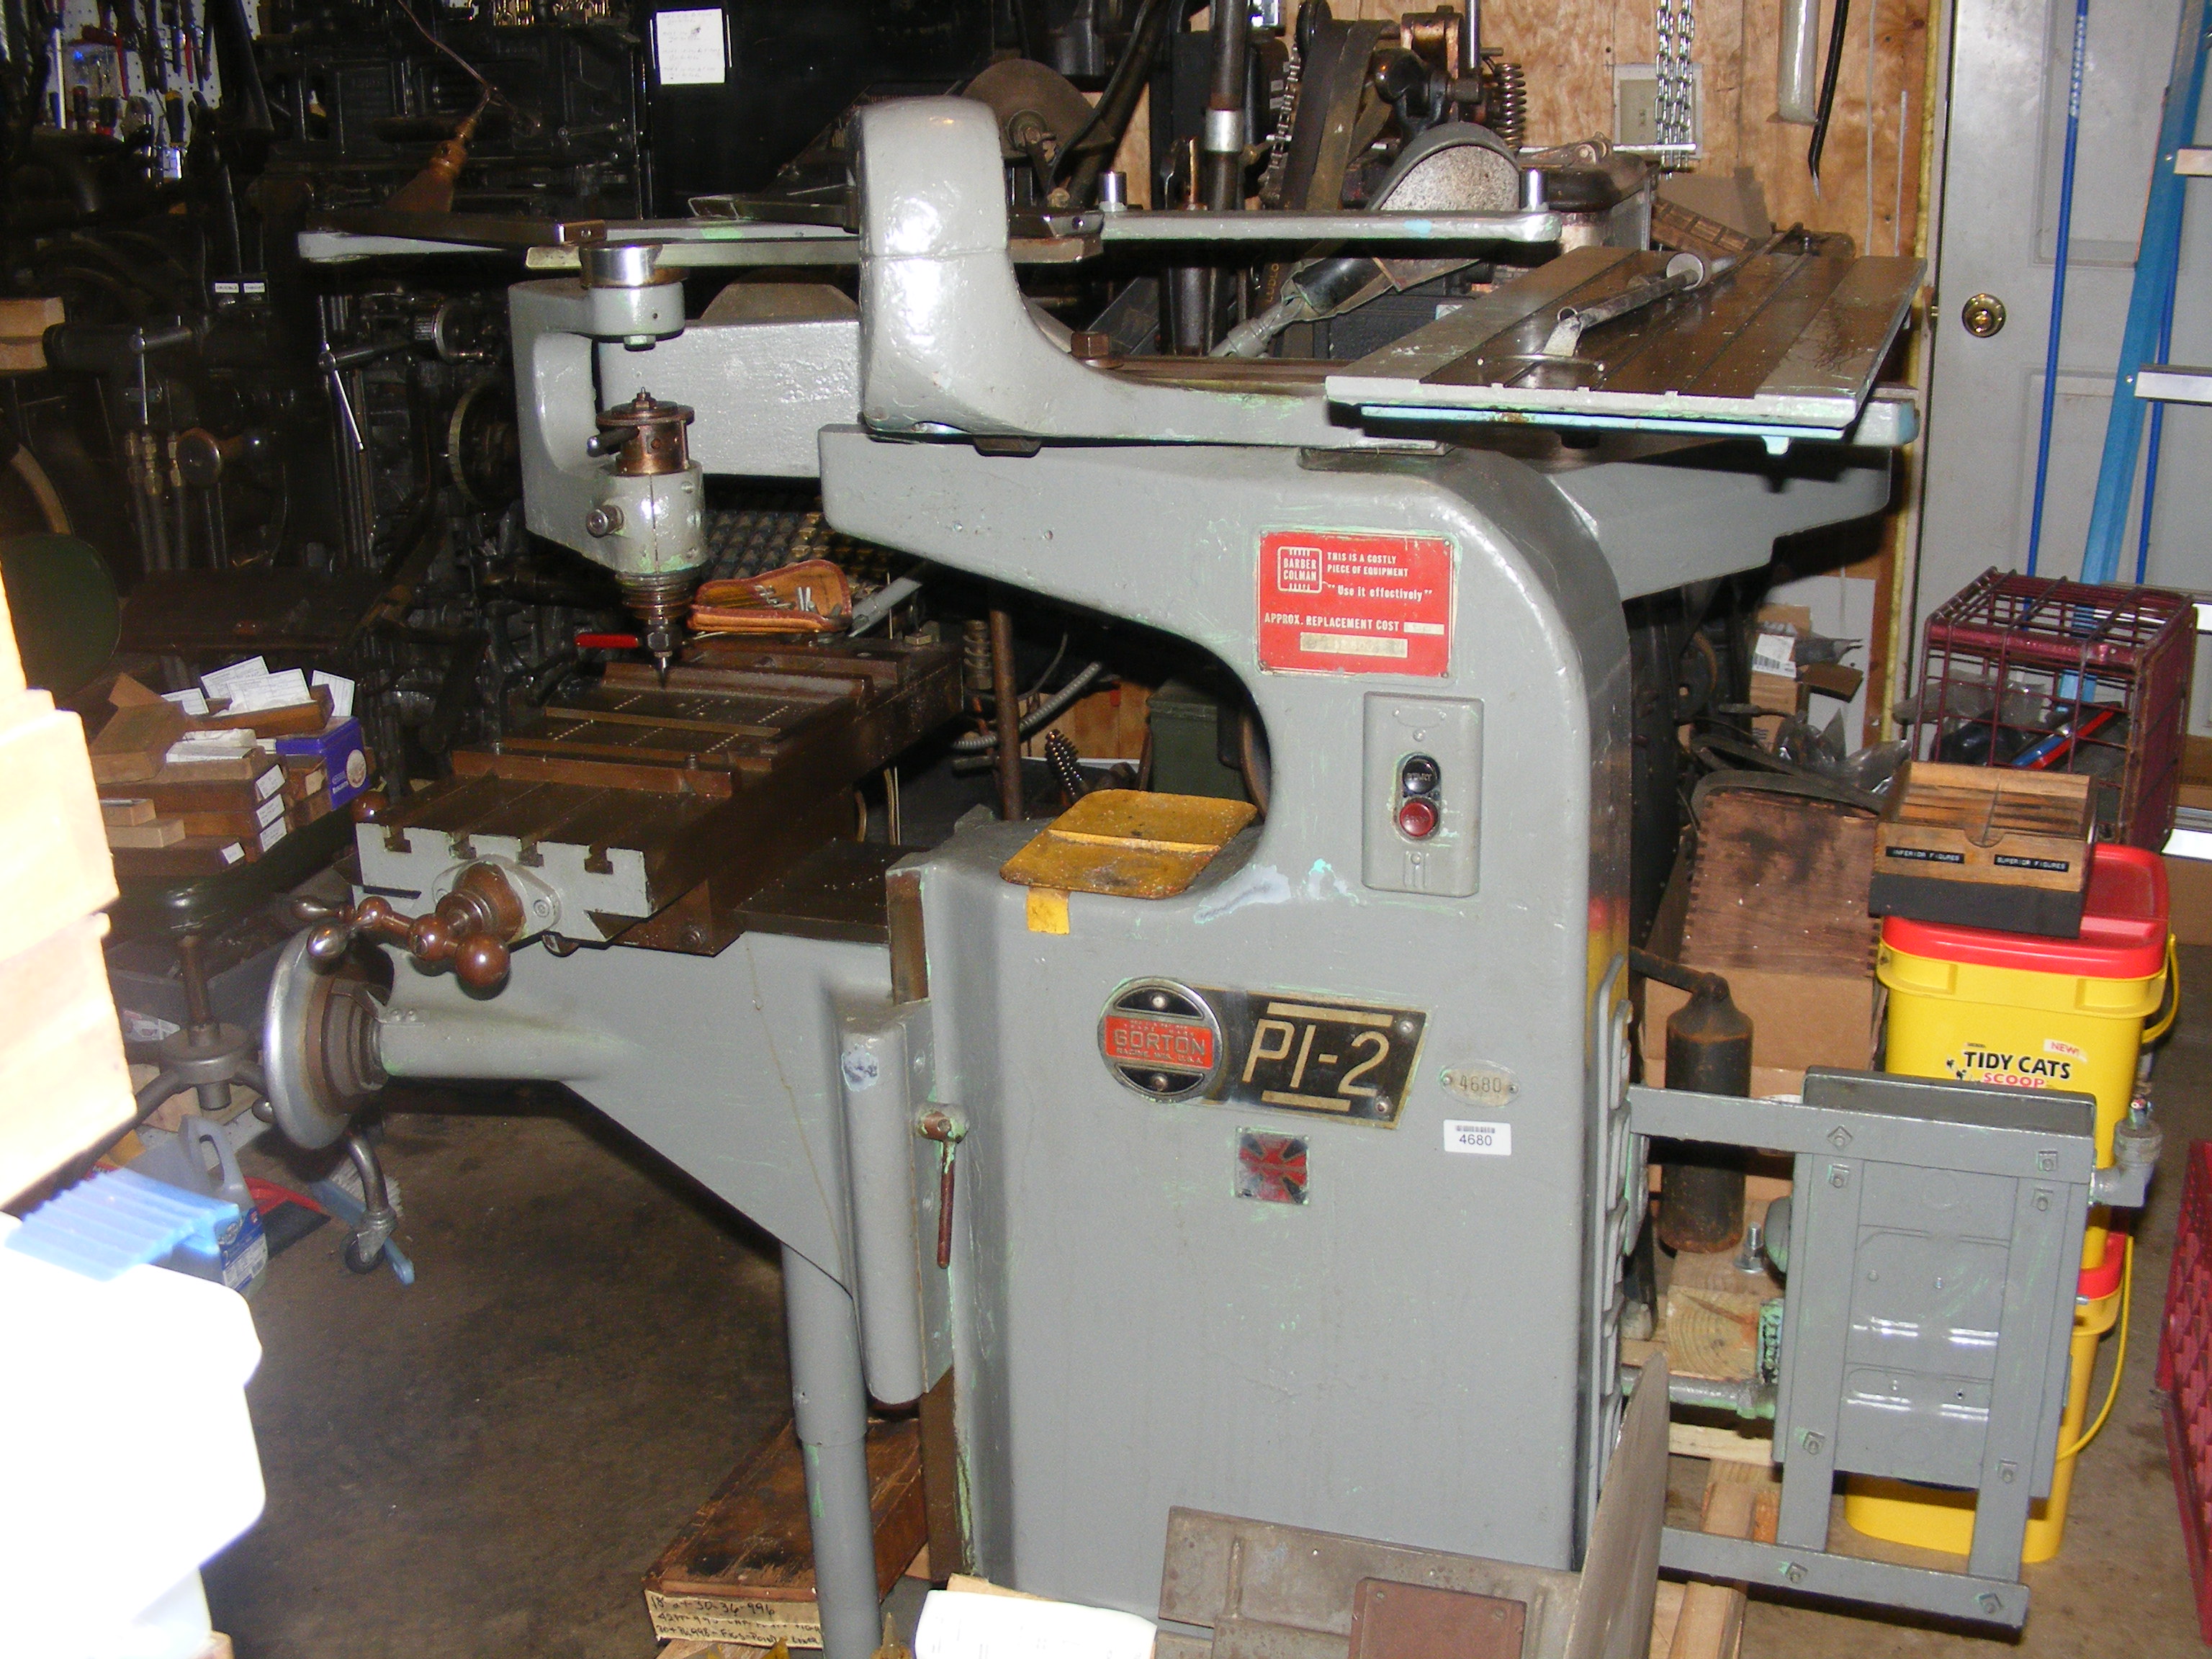
A Gorton model P1-2 Pantomill. Serial number 41,693. Formerly at Barber-Colman, Rockford. (their inventory number 4680). It was in service from 1961 to February 2011; I acquired it on July 8, 2011. They were the original purchasers of this machine in 1961. Except for the used machinery dealer who obtained it from them and sold it to me (Dick Crosby, WINN/DIXI MTS, Rockford, who was a pleasure to work with), I'm the second owner of this machine.
Power as acquired: 440V 3-phase 60 cycle. 1/4 HP.

Fortunately, the copy of Drawing EE-61 called out on this plate and supplied with this machine has been preserved .
My 3-phase rotary converter generates 220V, and it's a bit of a hassle for me to run 3-phase anyway (must turn on the rather loud rotary converter), so I need to remotor this for single phase.
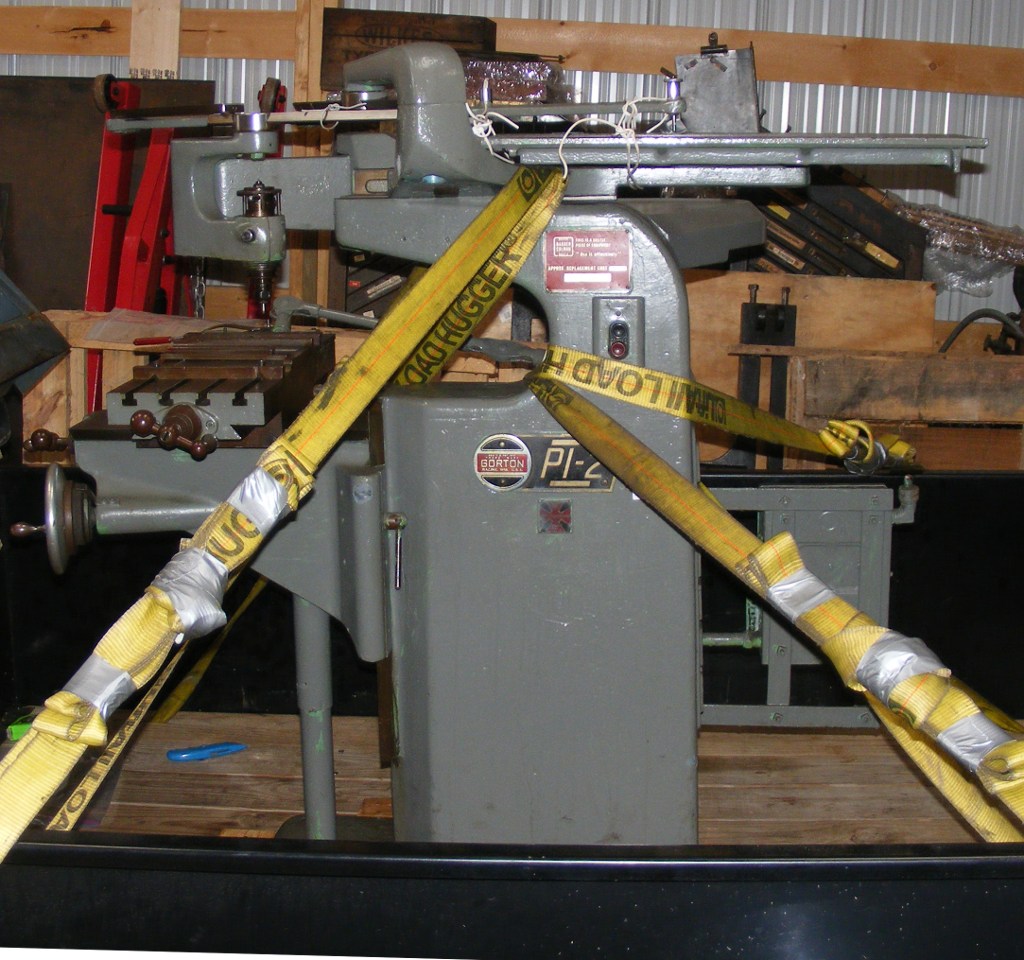
Here it is, safely home and with its cocoon of stretch-wrap removed, but still strapped in to the trailer. Note that the "pantograph head" part of the machine is attached at only two places: in-line with the spindle (a joint you wouldn't want to torque) and via a single bolt at the top of the column. Note also that this bolt might be (it was) loose. So it's important that at least some of the straps go over the "bottom slide" part of the pantograph head, as done here (and make sure that bolt is tight!)
Four independent straps are a minimum. Each strap goes from a corner of the trailer to the machine, separately from the other straps. They do not go from one side, over the machine, to the other side. Using four independent straps ties the machine in place; if instead I had just gone over the machine with two straps it could slip underneath a strap.
In transit, the machine was both protected and kept from smaller motions by a generous encasing in stretch-wrap, not shown here.
Here is the bottom of the machine, blocked in on the trailer. This is essential; you do not want the bottom of the machine sliding at all. Double-headed nails make this a lot easier to remove. (The official name for double-headed nails is "duplex" nails; this is a useful thing to know when looking for them in the store.)

Here's a shot of carrying it down to the shop from its initial parking place in the machine shed. I've put it on a new pallet designed specifically for it (yes, the pallet is asymmetric; it took a bit of figuring to design everything to fit in the limited space of the shop).
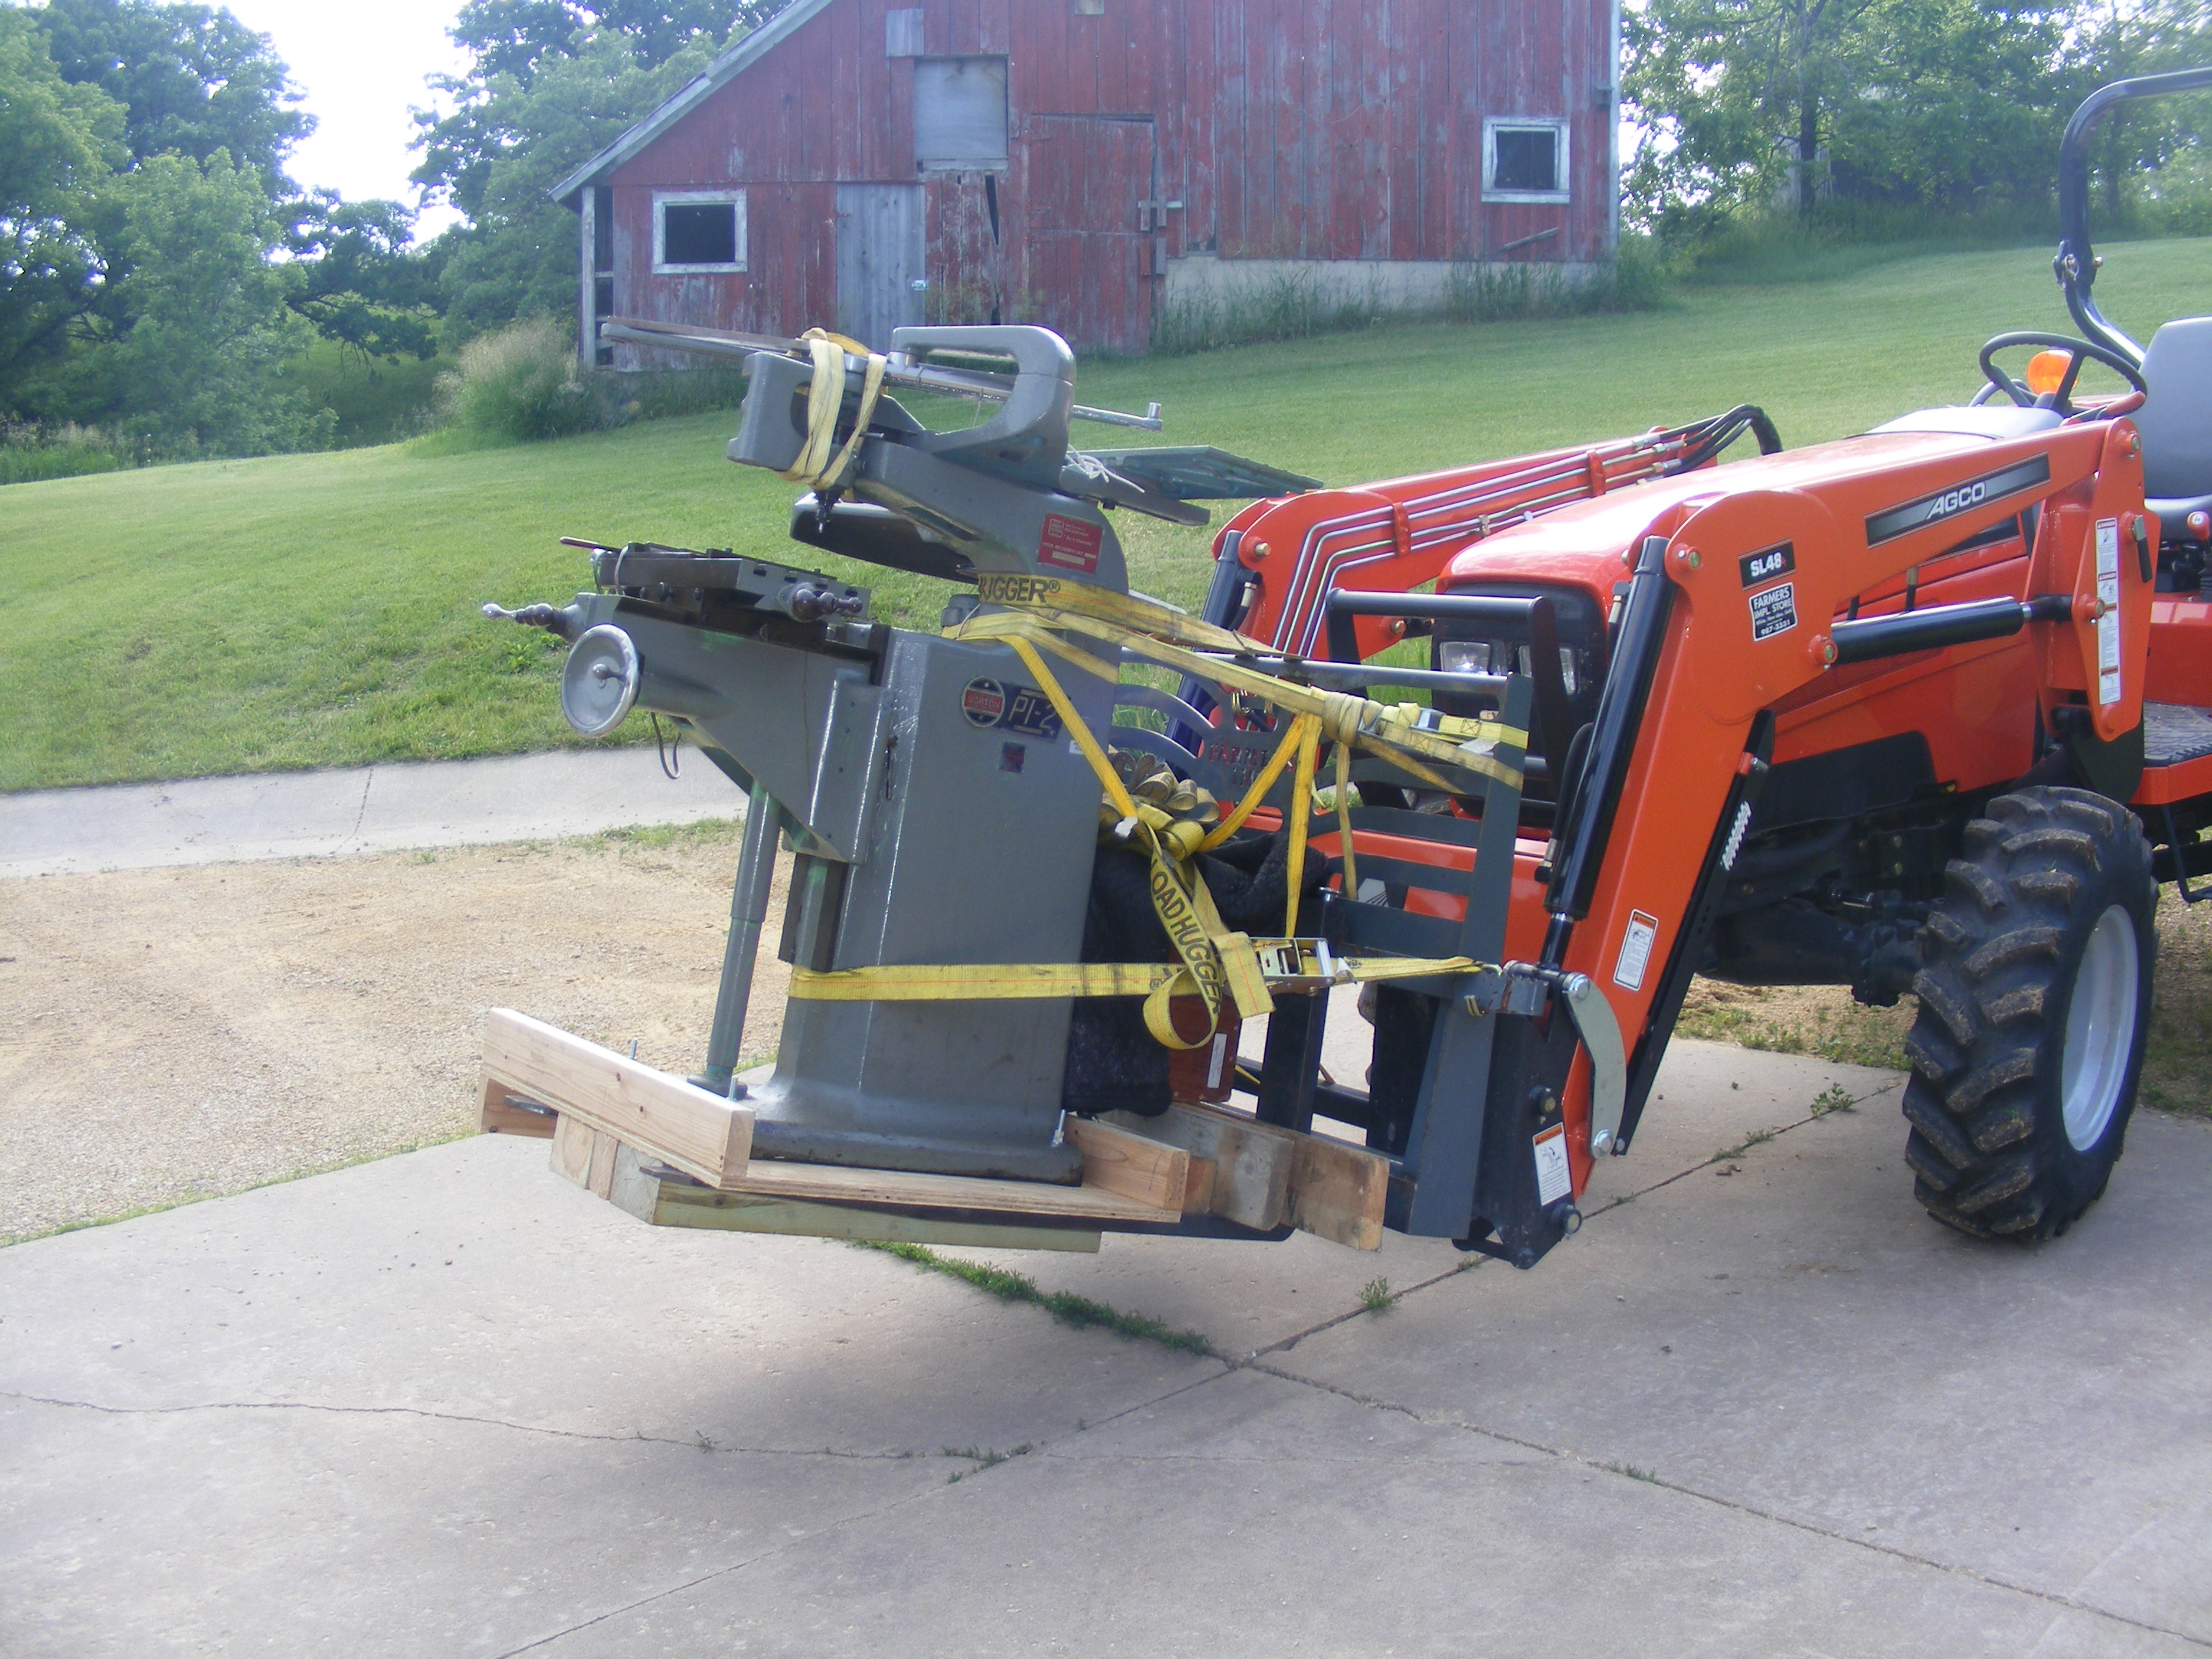
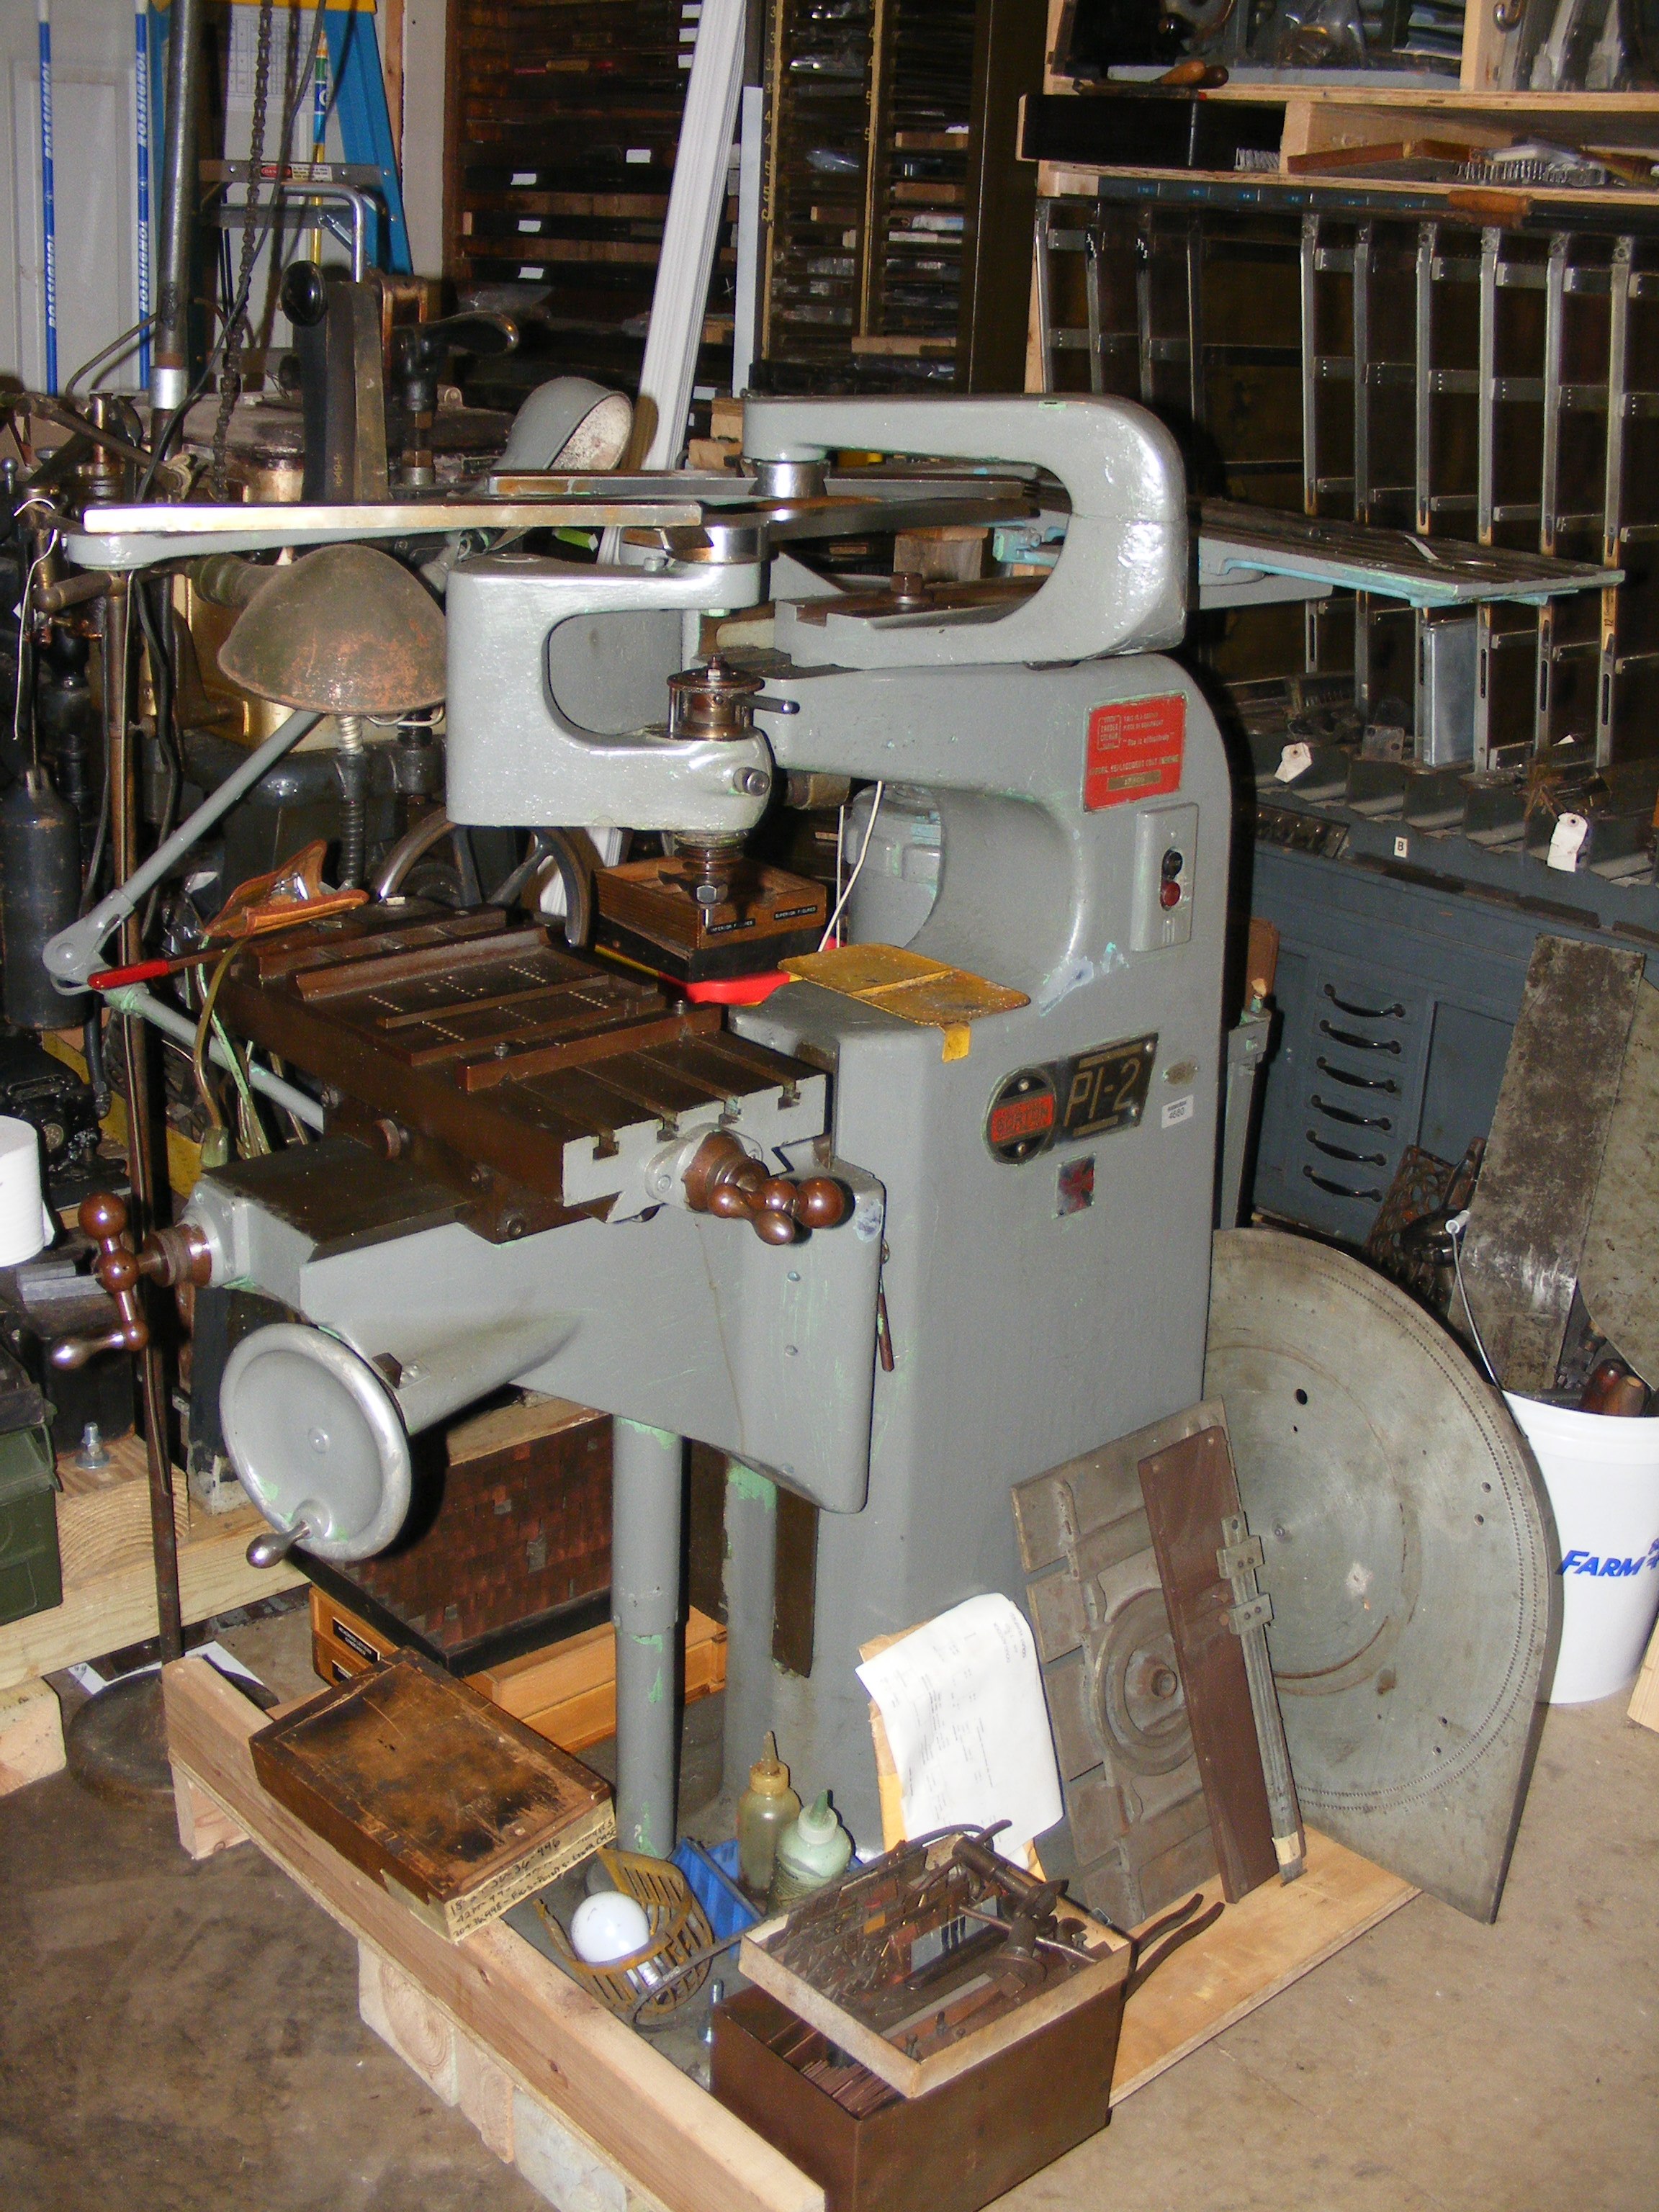
Finally, here are two pictures of it in the shop. I need now to swap out the 3-phase motor for a single phase one.
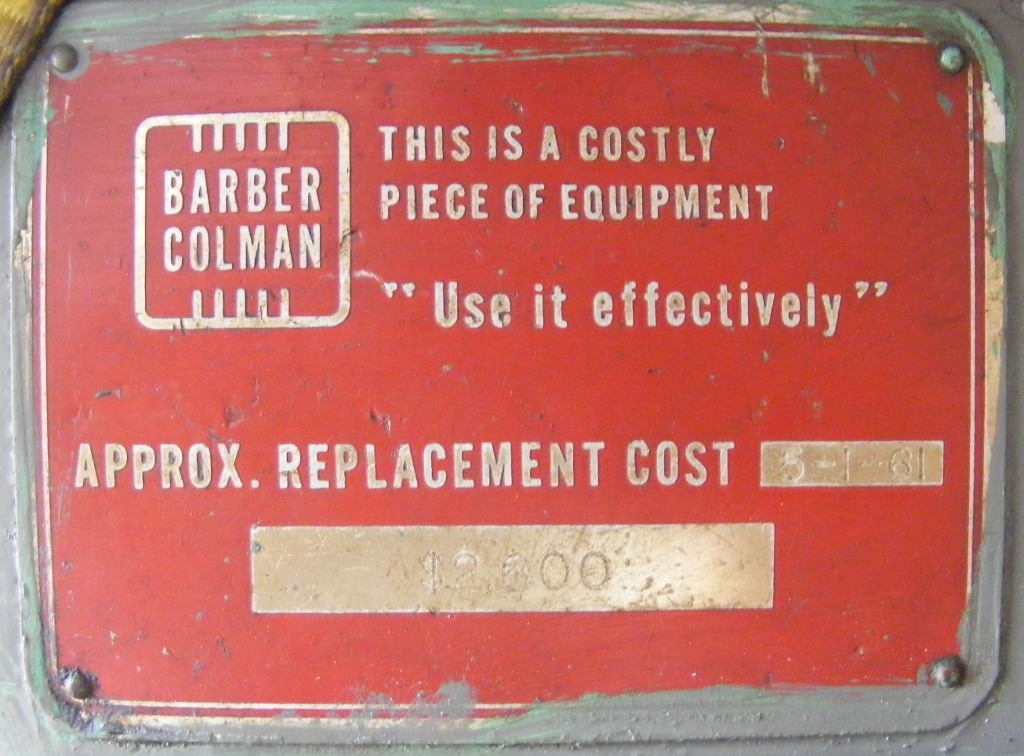
They're a bit hard to read in this image (click for larger), but the date and cost cited are "5-1-61" and "$2,600".
All portions of this document not noted otherwise are Copyright © 2011 by David M. MacMillan and Rollande Krandall.
Circuitous Root is a Registered Trademark of David M. MacMillan and Rollande Krandall.
This work is licensed under the Creative Commons "Attribution - ShareAlike" license. See http://creativecommons.org/licenses/by-sa/3.0/ for its terms.
Presented originally by Circuitous Root®
Select Resolution: 0 [other resolutions temporarily disabled due to lack of disk space]